DIY Irrigation System Installation: Step-by-Step Guide


Understanding the Basics of Irrigation Systems
Creating a thriving garden or lawn requires consistent watering, and a DIY irrigation system can make this task much easier. An efficient irrigation system ensures that your plants receive the right amount of water, reducing waste and promoting healthy growth. In this guide, we will walk you through the process of installing your own irrigation system, step by step.
There are various types of irrigation systems, including drip, sprinkler, and soaker hose systems. Each has its unique advantages and is suited for different garden layouts. Before you begin, it is important to assess your specific needs and choose the system that best suits your landscape.
Planning Your Irrigation System
Before installation, careful planning is crucial. Start by mapping out your garden area. Consider the types of plants you have and their water requirements. Make note of any obstacles like trees or structures that might affect water distribution. A well-thought-out plan will save you time and resources during installation.
Once you have a layout, calculate the water pressure and flow rate in your area. This information will help you determine the number of emitters or sprinklers needed to cover your garden adequately. You can typically find this information on your water bill or by contacting your local water supplier.
Gathering the Necessary Tools and Materials
To install an irrigation system, you will need several tools and materials. These may include PVC pipes, tubing, connectors, emitters or sprinklers, a timer, and a backflow preventer. Having all the necessary items on hand before starting will streamline the installation process.
Additionally, ensure you have basic tools like a shovel, pipe cutter, and measuring tape. If you're installing a drip system, consider purchasing a filter to prevent clogging from debris.
Installing the Irrigation System
Begin by laying out the mainline of your irrigation system according to your plan. Use connectors to branch off the mainline to different areas of your garden. For a drip system, attach emitters at intervals along the tubing to deliver water directly to plant roots.
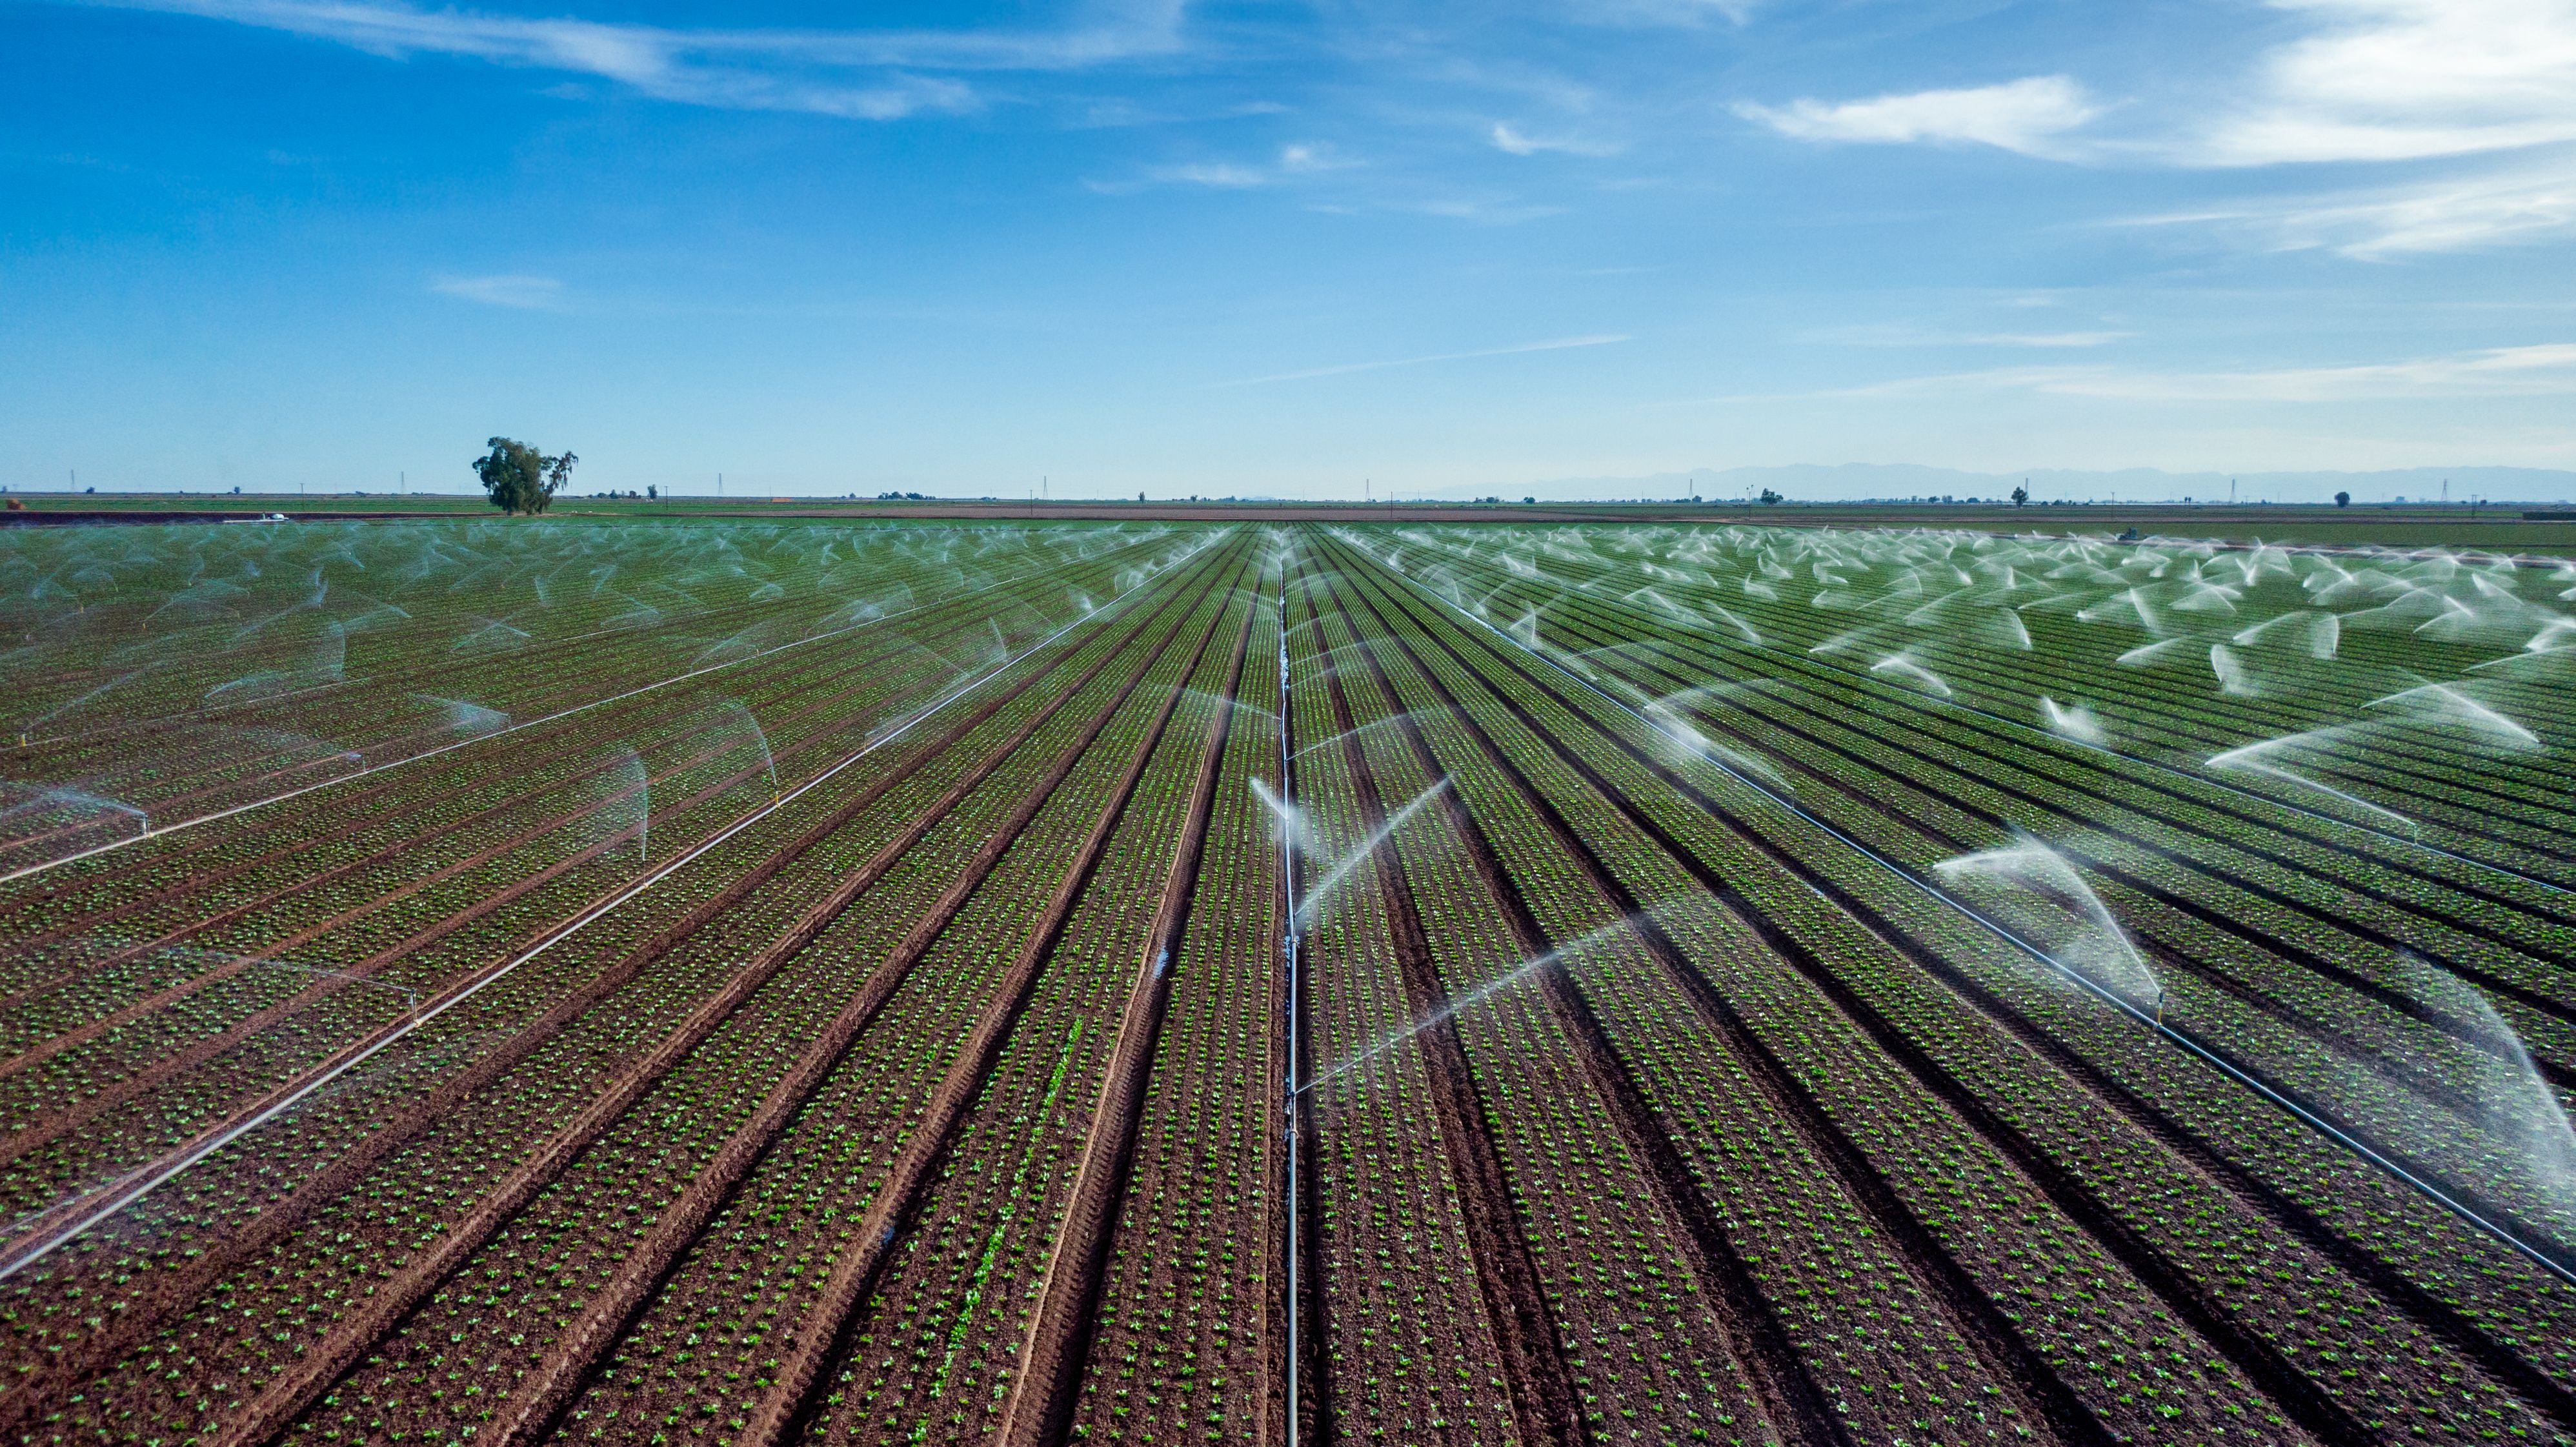
If you're installing a sprinkler system, position the sprinkler heads to ensure even coverage across your lawn or garden beds. Adjust the spray patterns to avoid watering sidewalks or driveways.
Testing and Adjusting Your System
After installation, it's crucial to test your irrigation system to ensure everything is working correctly. Turn on the water supply and check for leaks or blockages. Make any necessary adjustments to ensure optimal performance.
Set a timer on your irrigation system to automate watering schedules. This will help conserve water by only operating during optimal watering times, such as early morning or late evening.
Maintaining Your Irrigation System
Regular maintenance is key to the longevity of your irrigation system. Check for leaks, clogs, or worn-out parts periodically. Clean filters and replace damaged components as needed to maintain efficiency.
Seasonal adjustments may also be necessary. For instance, during periods of heavy rain, you may need to reduce watering times or turn off the system altogether to prevent overwatering.
Reaping the Benefits
Installing a DIY irrigation system can provide numerous benefits, from saving time and effort to improving plant health. By following these steps, you can create an efficient watering system that meets the needs of your garden while conserving water.
Whether you're an experienced gardener or a novice, taking the time to install an irrigation system is an investment in your landscape's future.